PYTHON TURTLE🐢 WITH PRACTICAL
PYTHON TURTLE LIBRARY

- Programming With turtle
- Moving the Turtle
- Drawing a Shape
- Drawing Preset Figures
- Changing the Screen Color
- Changing the Screen Title
- Changing the Turtle Size
- Changing the Pen Size
- Changing the Turtle and Pen Color
- Filling in an Image
- Changing the Turtle Shape
- Changing the Pen Speed
- Customizing in One Line
- Picking the Pen Up and Down
- Undoing Changes
- Clearing the Screen
- Resetting the Environment
- Leaving a Stamp
- Cloning Your Turtle
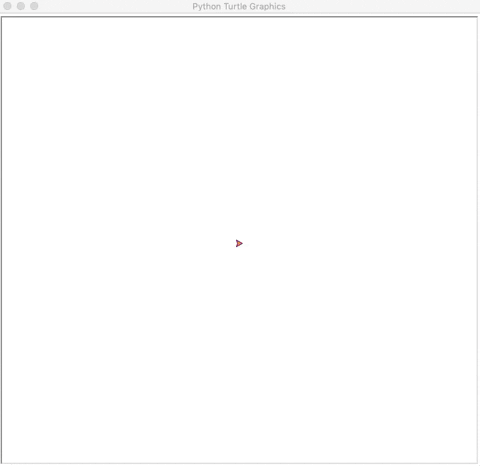
Now, to open the turtle screen, you initialize a variable for it in the following way:
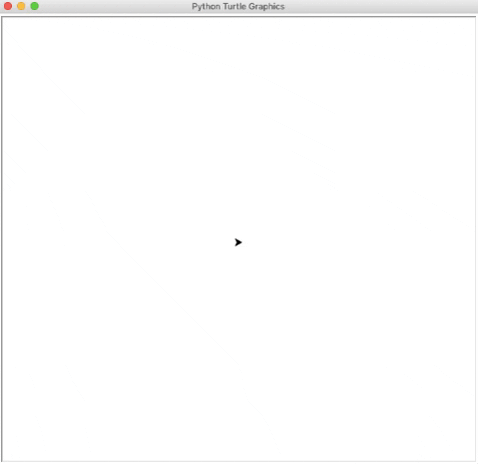
You should see a separate window open up:
Programming With turtle
Moving the Turtle
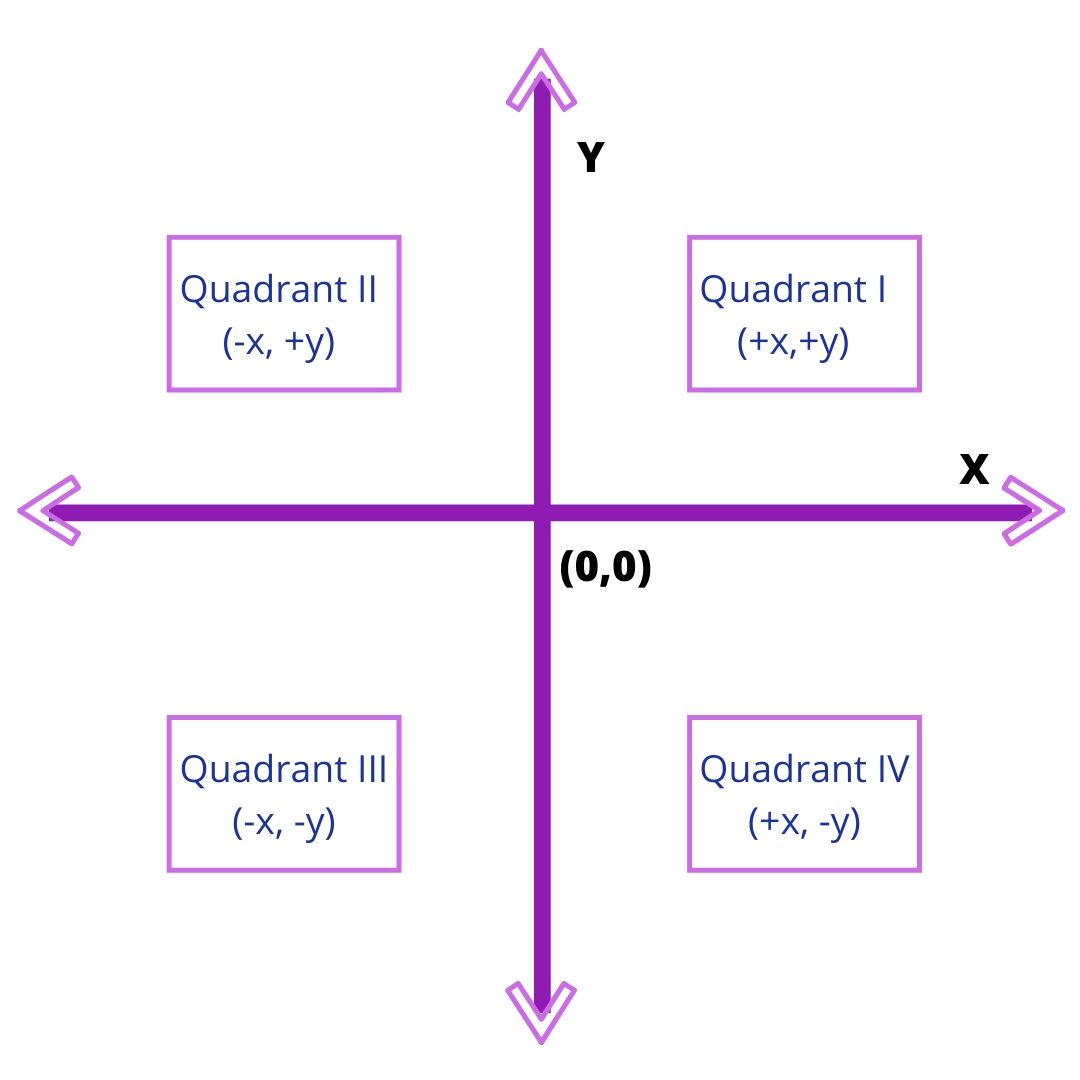
There are four directions that a turtle can move in:
You can use the shortened versions of these commands as well:
t.rt()instead oft.right()t.fd()instead oft.forward()t.lt()instead oft.left()t.bk()instead oft.backward()
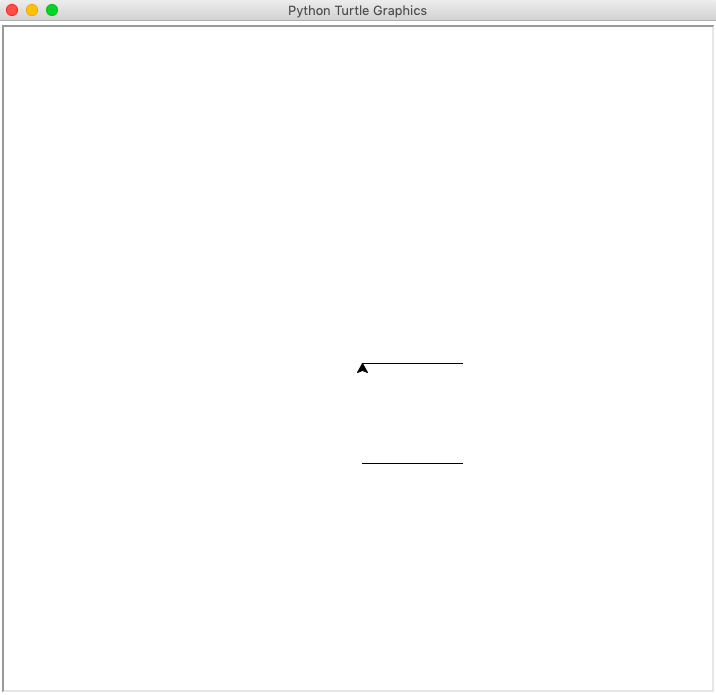
Your output will look like this:
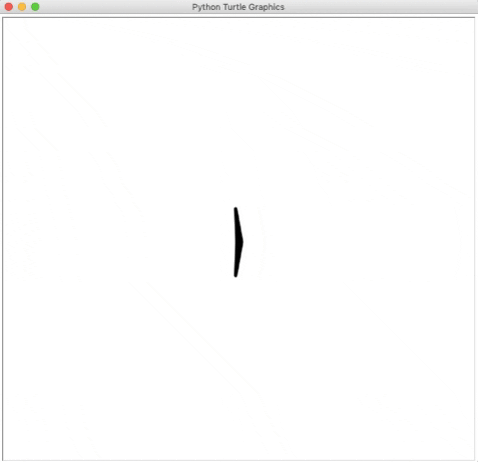
You’ve drawn a line from your current position to the point (100,100) on the screen.
To bring the turtle back to its home position, you type the following:
Drawing a Shape
Your output will look like this:
Drawing Preset Figures
You’ll get an output like this:
You’ll get a filled-in circle like this:

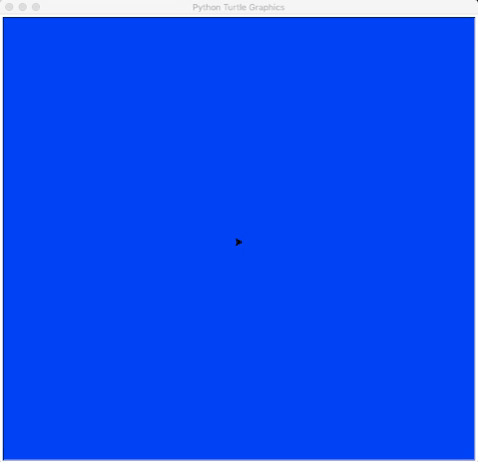
Changing the Screen Color
You can replace "blue" with any other color. Try "green" or "red". You’ll get a result like this:
Changing the Screen Title
Your title bar will now display this:
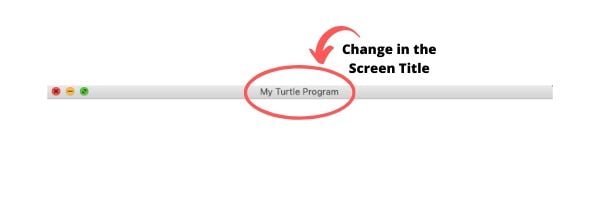
In this way, you can change the heading of your screen according to your preference.
Changing the Turtle Size
Your outputs will look like this:
The numbers given are the parameters for the size of the turtle:
Changing the Pen Size
This results in an outcome like this:
Changing the Turtle and Pen Color
- Change the color of the turtle: This changes the fill color.
- Change the color of the pen: This changes the outline or the ink color.
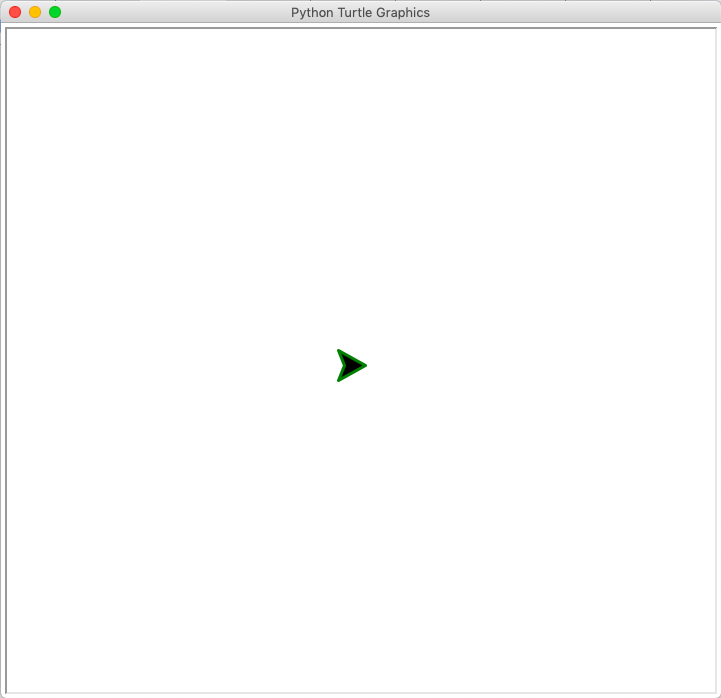
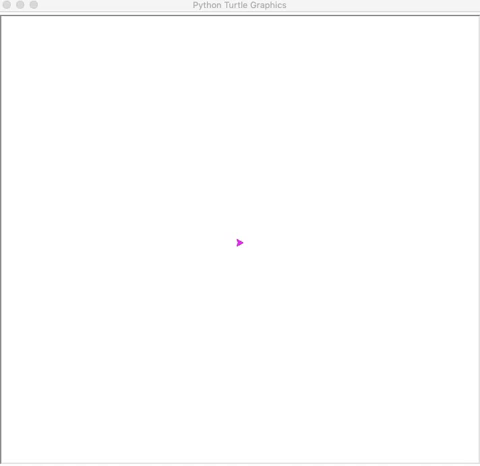
Now, to change the color of the turtle (or the fill), you type the following:
Your turtle will look like this:
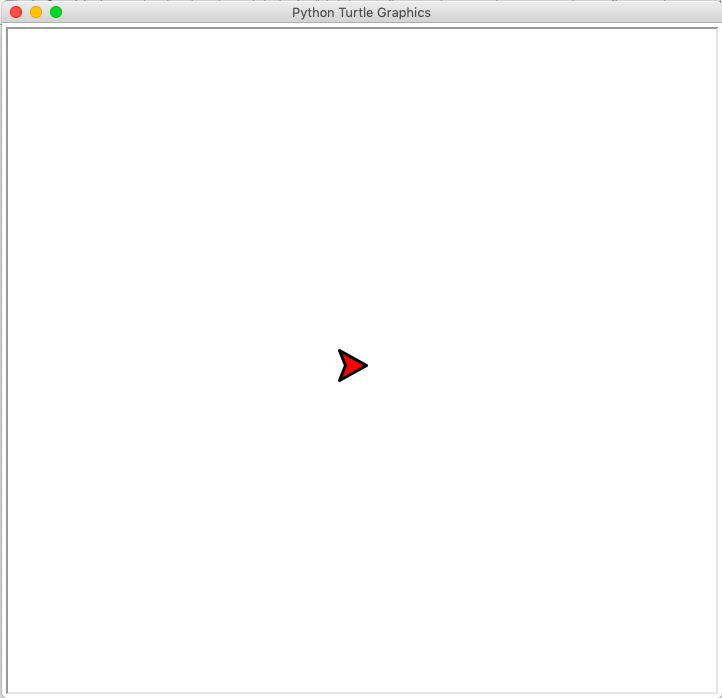
To change the color of the pen (or the outline), you type the following:
Your turtle will look like this:
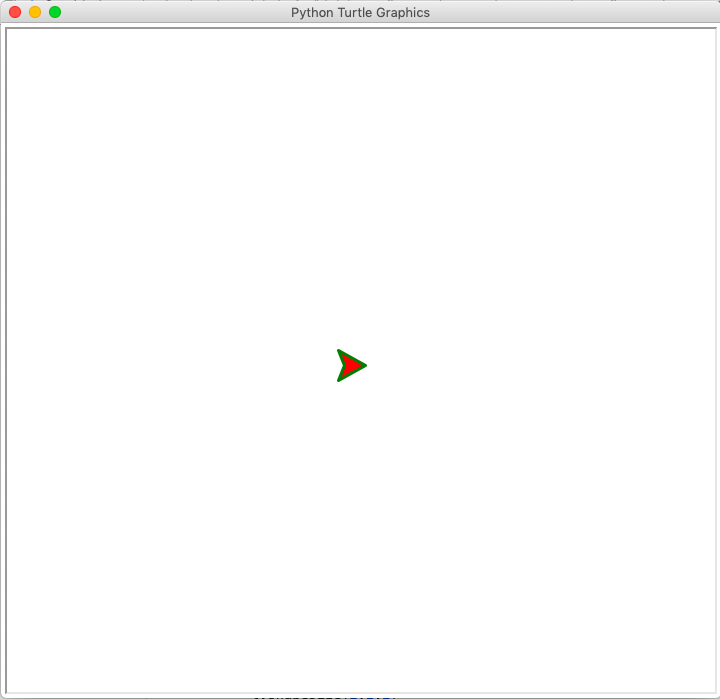
To change the color of both, you type the following:
Your turtle will look like this:
Filling in an Image
When you execute this code, you’ll get a triangle that’s filled in with a solid color, like this:
Changing the Turtle Shape
The shape of the turtle will change accordingly, like this:
You have a couple of other options that you can try as well:
Changing the Pen Speed
Customizing in One Line
Suppose you want to set your turtle’s characteristics to the following:
From what you’ve just learned, the code should look something like this:
It’s pretty long, but not that bad, right?
This will give you a result like this:
Picking the Pen Up and Down
When you run this code, your output will look like this:
Undoing Changes
Clearing the Screen
Resetting the Environment
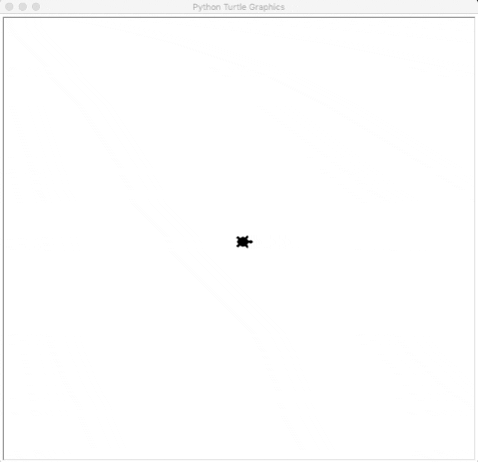
Leaving a Stamp
Your output will look like this:
Cloning Your Turtle
The output will look like this:


Comments
Post a Comment